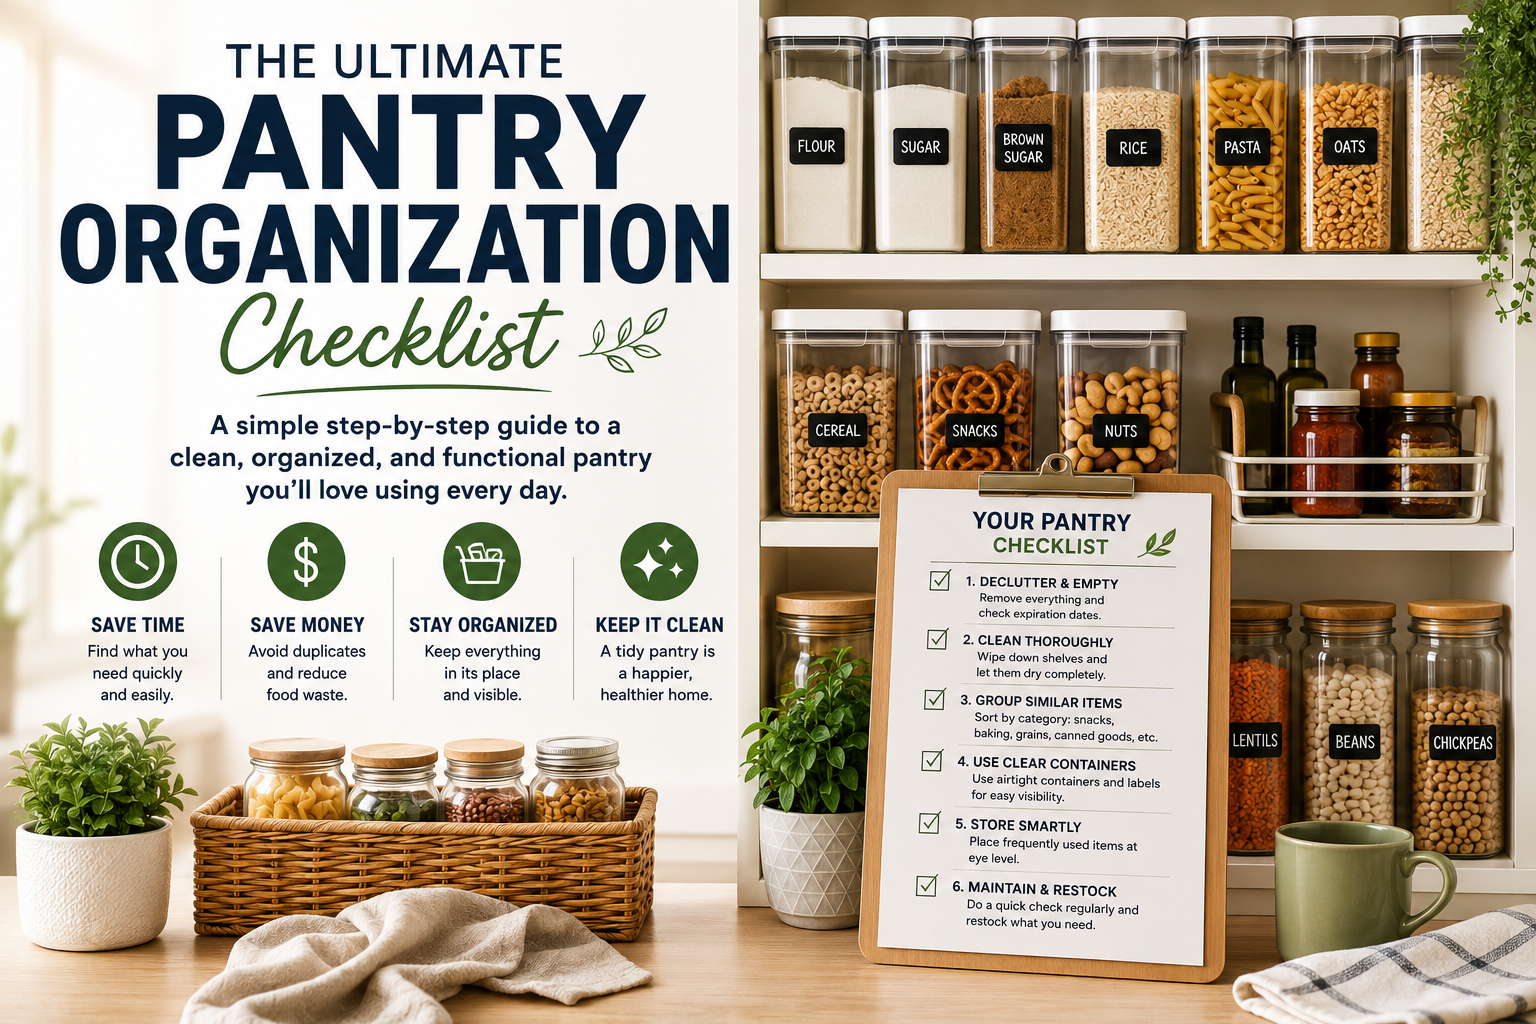
Don't Buy Organizers Yet
Yes, you read that correctly.
Before buying matching containers, woven baskets and 47 labels, figure out what is actually in your pantry.
Good pantry organization starts with decluttering, not shopping.
Step 1: Empty the Pantry
- Remove food and other items
- Put everything where you can see it
- Check upper shelves
- Check the very back
- Find all those mysterious half-empty bags
Seeing everything at once makes duplicates and forgotten food much easier to identify.
Step 2: Check What You Have
- Check expiration/best-quality dates as appropriate
- Identify duplicate products
- Set aside unopened food you won't use for possible donation where accepted
- Dispose of food that is no longer appropriate to keep
- Combine identical products when safe and appropriate
Step 3: Clean the Empty Pantry
Now that it's empty:
- Wipe shelves
- Clean spills
- Vacuum/sweep crumbs
- Clean storage containers
- Check corners and shelf liners
There's no better time to clean the pantry than when nothing is in it.
A clean pantry is easier to organize and maintain. Browse our Kitchen Cleaning & Maintenance Supplies for everyday products that can help with routine kitchen cleanup.
Step 4: Create Categories
Group similar products.
Possible categories include:
- Baking
- Breakfast
- Pasta & grains
- Canned goods
- Snacks
- Spices
- Oils & vinegars
- Sauces
- Beverages
- Meal-prep ingredients
- Kids' snacks
- Backstock
Your categories should reflect your household, not somebody else's Pinterest pantry.
If you're organizing a pantry in your first home or apartment, our Ultimate First Apartment Kitchen Checklist can help you make sure you've covered the rest of your kitchen essentials too—from cookware and utensils to food storage and cleaning supplies.
Step 5: Decide What Needs a Container
Not everything needs to be transferred into a matching jar.
Containers are particularly useful when they solve an actual problem.
Consider them for:
- Flour
- Sugar
- Rice
- Pasta
- Cereal
- Grains
- Frequently used baking ingredients
- Open packages that are difficult to reseal
Good storage also makes baking ingredients easier to find when you need them. Bookmark our Kitchen Measurement & Conversion Chart for quick access to common cooking and baking measurements while you're in the kitchen.
Once you know what actually needs organizing, explore our Kitchen Storage & Organization collection for practical ways to make better use of your pantry and kitchen space.
Step 6: Use Vertical Space
- Add shelf risers where useful
- Consider stackable storage
- Store infrequently used items higher
- Keep frequently used items within comfortable reach
You're paying for the entire cabinet—not just the bottom six inches of each shelf.
Step 7: Make Deep Shelves Work Harder
Deep shelves can turn into black holes.
Consider:
- Turntables
- Pull-out bins
- Baskets
- Tiered organizers
- Clear containers
The goal is being able to reach something at the back without excavating half the pantry.
Step 8: Put Everyday Foods at Eye Level
Frequently used items should be easiest to access.
Save inconvenient shelves for:
- Backstock
- Specialty ingredients
- Seasonal items
- Less frequently used appliances
Step 9: Make Snacks Easy to Find
If your household goes through snacks quickly, give them a dedicated location.
Bins can help prevent individual packages from taking over an entire shelf.
Step 10: Label Where It Helps
Labels are useful when they communicate something meaningful.
Consider labeling:
- Containers
- Baskets
- Shelves/categories
- Dates when appropriate
You don't need a label that says PASTA if the clear container obviously contains spaghetti—but if labeling helps your household put things back correctly, use it.
Step 11: Create a Backstock Area
Buying multiples can save money, but scattering them throughout the pantry creates clutter.
Give extras a dedicated location.
When the everyday item runs out, replace it from your backstock before buying another.
Step 12: Follow FIFO When Appropriate
FIFO means First In, First Out.
When restocking appropriate pantry foods, bring older items forward and put newer ones behind them.
That makes it easier to use what you already have before opening newer products.
Step 13: Maintain It
A pantry doesn't stay organized because you spent four hours organizing it once.
Try:
Weekly: Quick reset.
Monthly: Look for forgotten/open products.
Every few months: Deeper clean and inventory check.
The Pantry Organization Rule to Remember
Don't organize clutter. Reduce it first.
Then use storage products to solve the problems that remain.
That's the difference between a pantry that looks beautiful for two days and one that actually works for your household.
